How To Clean A Self Healing Mat

I'm the first to admit that I have used and abused my cutting mat. Who knew you were supposed to clean them and moisturize them too? I'll show you what I learned and what a difference it has made!
I knew better but I had fallen into some bad habits using my cutting mat. We're all creatures of habit. You know, you cut two-inch strips or five-inch squares or what have you, I have a tendency to go to the same location on my cutting mat and start cutting. Over time, the end result is you will start wearing a groove in a specific area of your mat. So, it's a good idea to cut those squares or strips on different areas of your mat. You don't want to cut in the same spot all the time because that will wear a groove in your cutting mat.

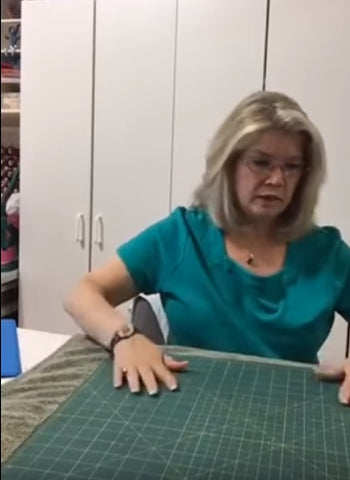
You can see my mat is really discolored and there are some pretty heavy grooves worn in where I cut in the same places all the time. Live and learn by my mistakes and hopefully your mat will last a lot longer. I figured if I could clean up this mat that was so abused and get it to looking a lot better and remoisturize it, then you can take a brand-new one or one that's not in as bad a shape and make it last 10 times as long!

What you need:
- A soft kitchen brush and another little brush that's soft but has a longer bristle on it.
- Measuring cup and something to measure out a gallon of water
- White vinegar
- Dishwashing soap (I recommend Ivory or Palmolive which are gentle, but nothing with a red dye that could stain)
- A big towel or a couple of smaller towels
With the brush, go over the entire surface of the mat, just back and forth, to get rid of any loose fibers or grunge that's gotten down in the grooves. When finished, you will soak your mat. Depending upon the size of your cutting mat, it might fit in a sink, a bathtub or a kiddie pool. You must be able to submerge it in water while flat.
I placed my 18" x 24" mat in a bathtub. Generally speaking, you want about a quarter cup of white vinegar to a gallon of cool water. If the water is too warm, it can warp the mat. I used about four gallons of water to get the mat nicely submerged. If you don't have anything to measure your water with you can guesstimate the mix. It doesn't have to be exact.
I stirred up the water by hand and submerged the mat for 20 minutes. That gets moisture back into your mat and refreshes the self-healing properties.

After 20 minutes, I added some dishwashing soap and scrubbed some of the problem areas with a brush. I was surprised at how much of the discoloration was released just by the vinegar and water soak.

After cleaning, rinse it off. Lay a towel on a flat surface and add another on top. Pat it dry then leave it on a flat surface to dry.

It's not new but it's certainly a lot better than it was. Had I done this from the very beginning, I have no doubt it would look like new.
See the video here .
May your day be blessed with perfect stitches and GlitterFlex!!

How To Clean A Self Healing Mat
Source: https://sewinspiredbybonnie.com/blogs/bonnies-blog/caring-for-your-self-healing-cutting-mat
Posted by: mcclanahanlitend1940.blogspot.com

0 Response to "How To Clean A Self Healing Mat"
Post a Comment